
Home Office Bookshelf DIY | Week 3 of One Room Challenge

Welcome! I am so glad you’re here! I have been working on my home office for the One Room Challenge. We are on Week 3 and will be building bookshelves this week. If you missed them, here are the links to WEEK 1 and WEEK 2.

For those of you who are new to my page, Hello! I’m Jessica, wife to Cody, and mom to 2 boys and a girl, who are SO lucky because everyday with me is like an episode of carpool karaoke! They get a ride and a show! (OK, so I’m not a great singer, but do have enthusiasm). I have a background in architecture and designed this home that we just built in a small Texas town. We self-contracted the build…and we are still finishing up a few projects. Most days you can find me on Instagram @the.old.barn
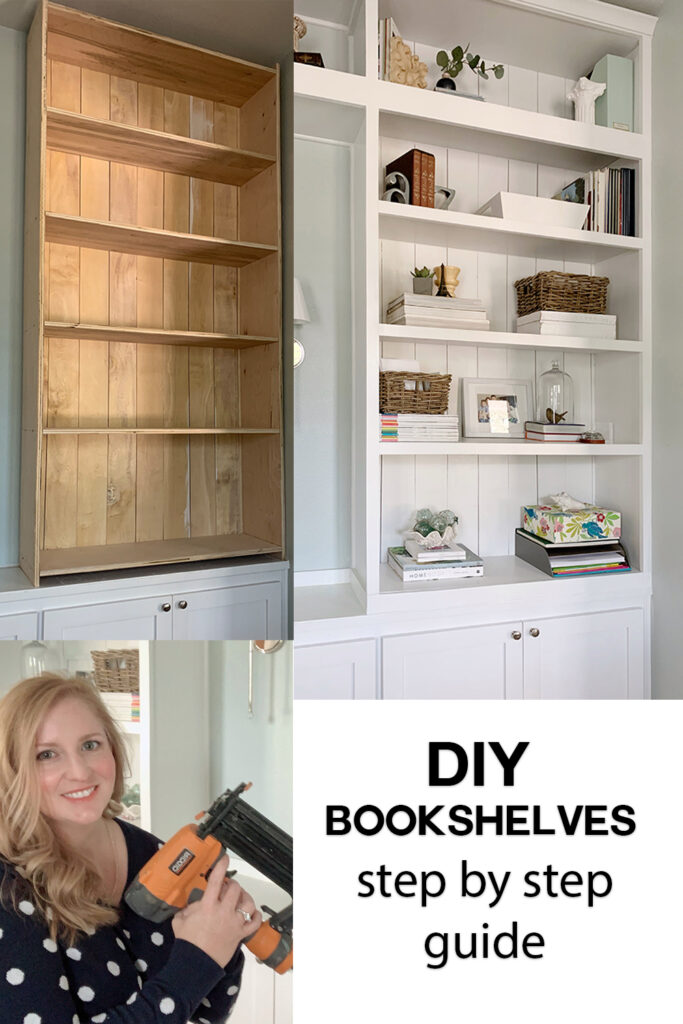
And here’s where the bookshelves will be going. They will sit on top of the existing cabinets and go almost to the ceiling.

Now let’s get into the steps we took to build the shelves. My husband and I were able to do the steps I’m showing you today in ONLY 40 minutes! Seriously!
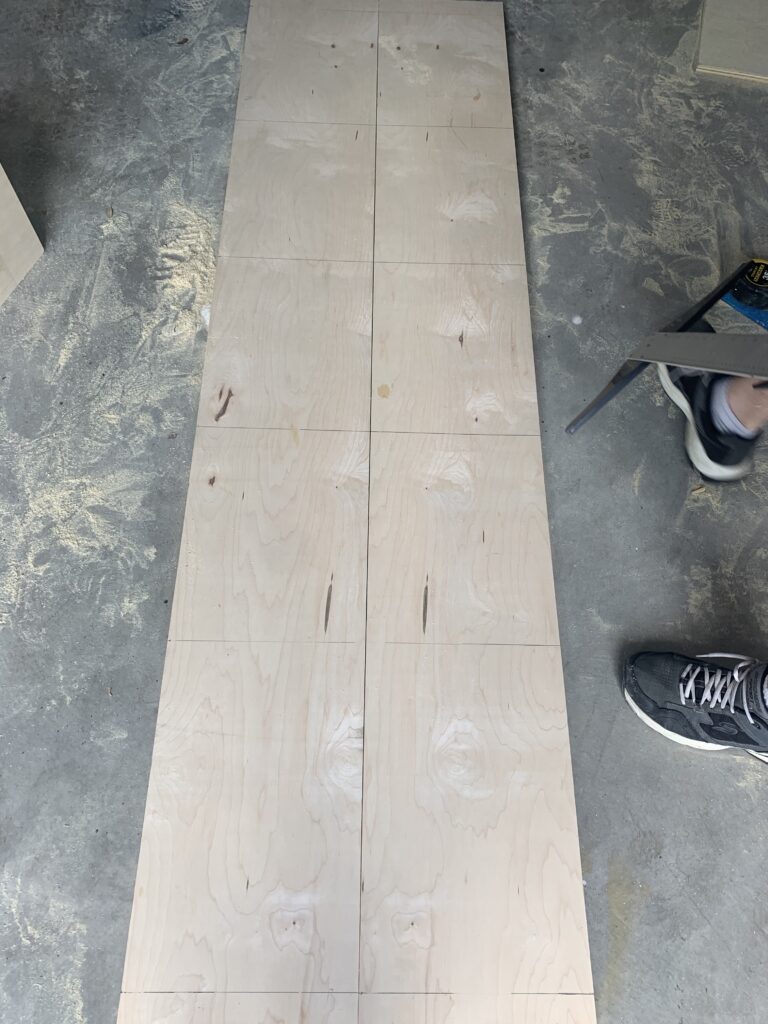
- The first thing we did was cut our boards to the correct length. If you read last week, you know we had Home Depot cut the pieces into the widths we needed. This was a huge help!
2. The next thing we did was measure out on the vertical pieces where the shelves would attach…the spacing of the shelves.
3. Using a finish nail gun, we attached the shelves to the vertical sides at the pencil marks. We put 4 nails in each end of shelf. This is just to hold the shelves in place until we can get both sides on.
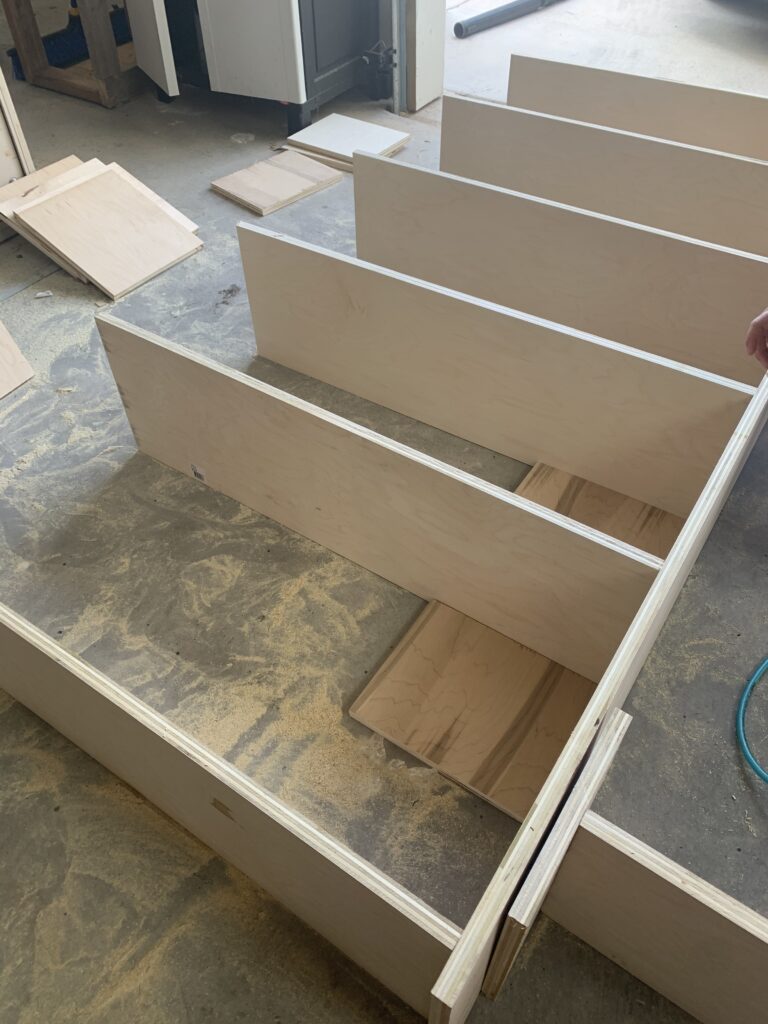
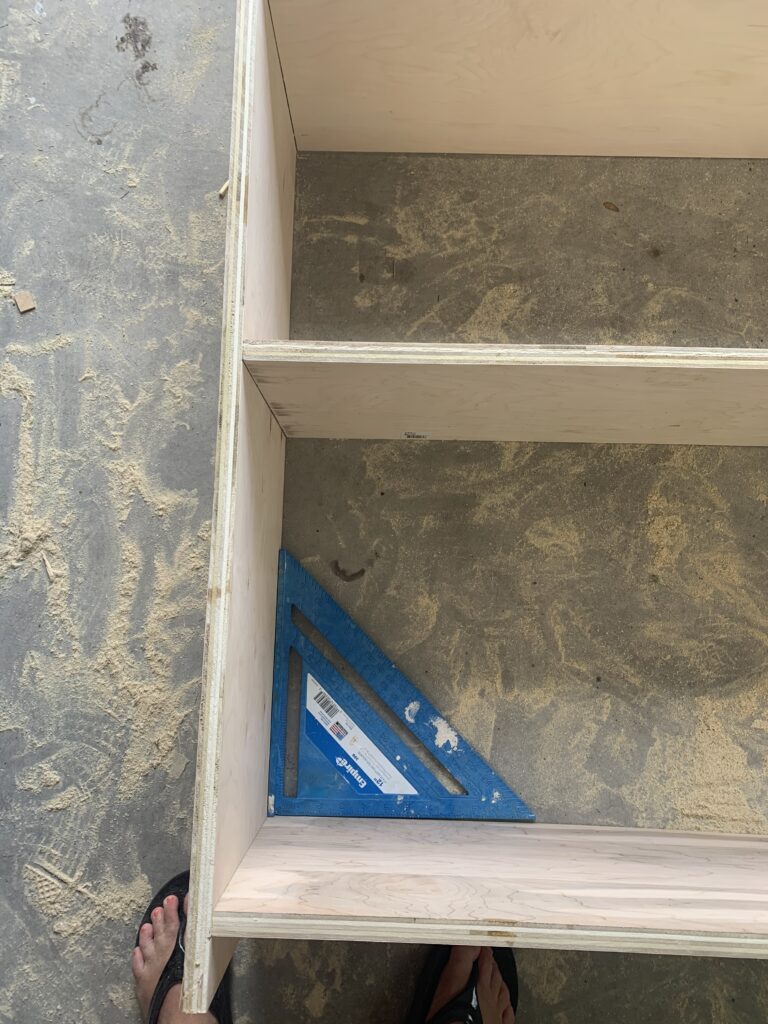
4. Both sides are on now. We made sure everything was square and put 2 screws at the ends of each shelf to really secure it.
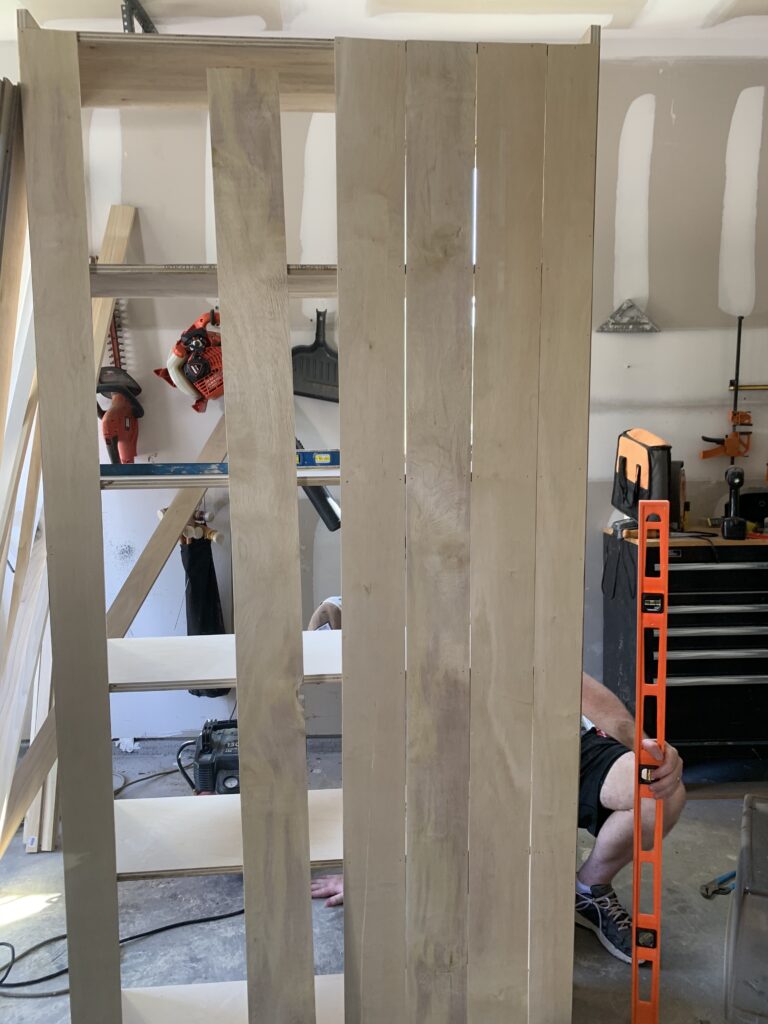
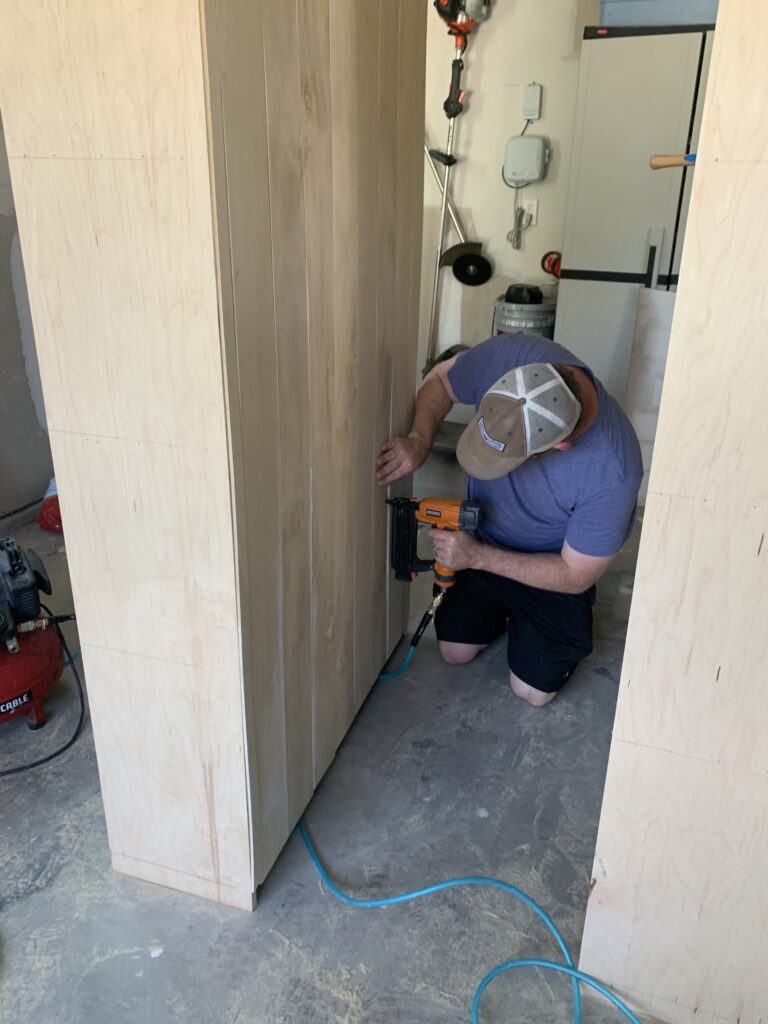
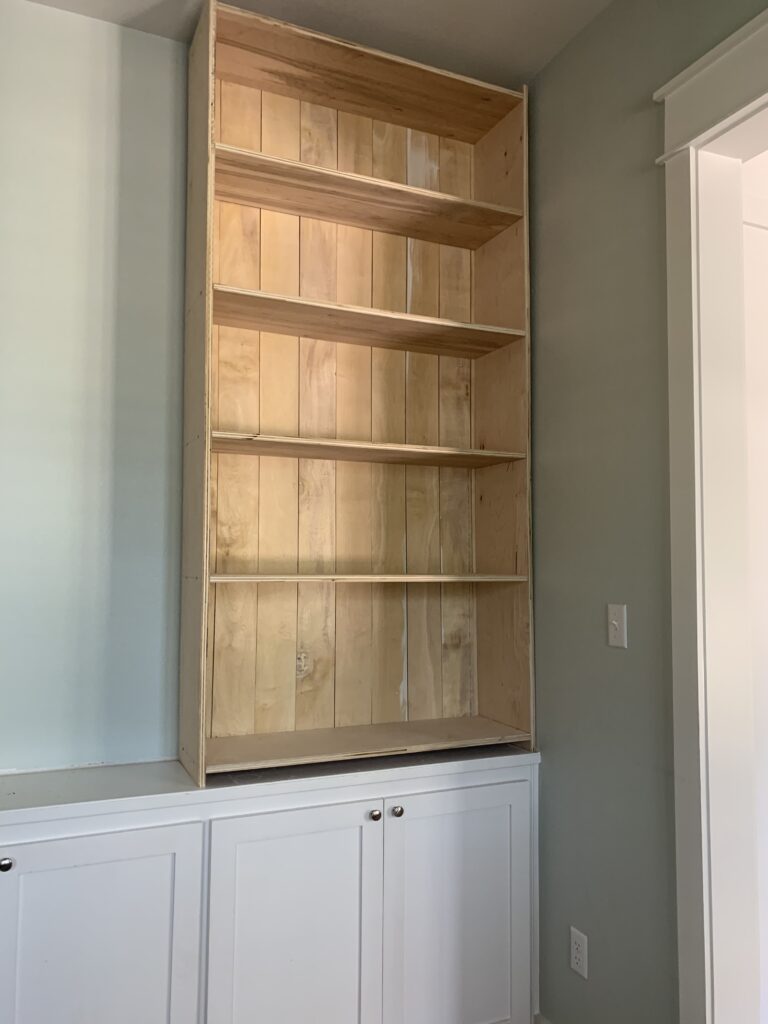
5. Now it’s time to stand up the shelves and attach the wood slats on the backside. We cut some 1/4″ thick plywood into 6″ wide strips and used the finish nail gun to attach them vertically to the sides, top, bottom, and to each shelf. This will prevent the bookshelf from racking, or tilting out of square. We intentionally left a small gap between the slats to give the appearance of shiplap.
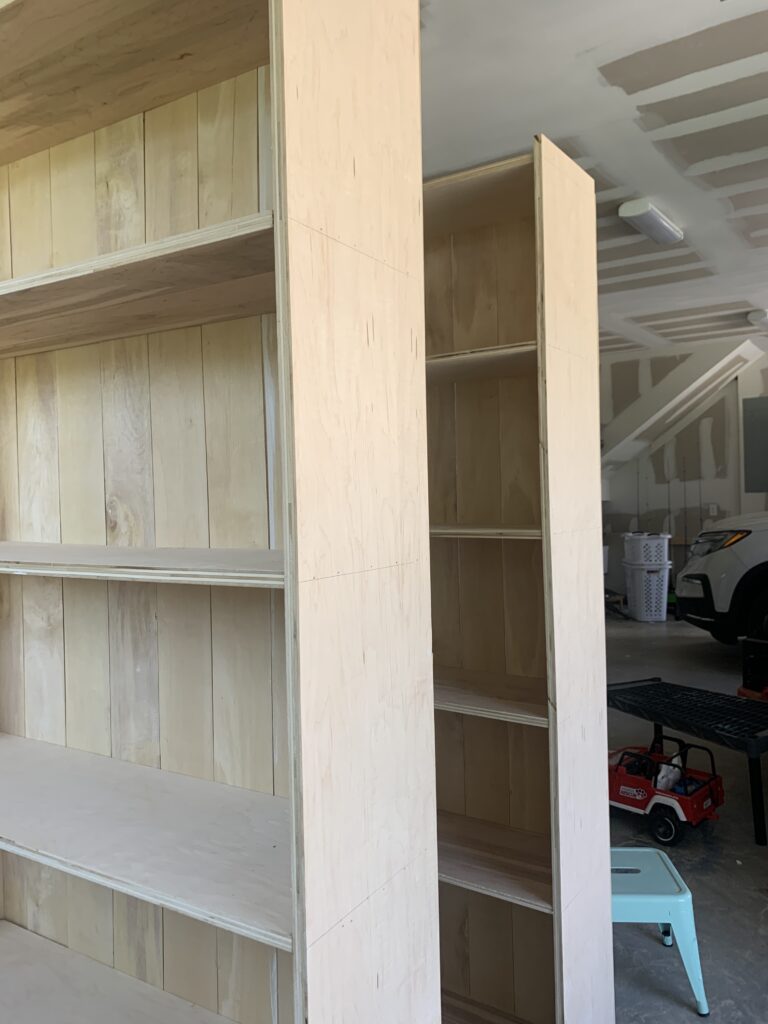
6. The last thing we need to do this week is move these bookshelves into place on the cabinets, and adjust them to make sure everything is level and plumb.
Next week, we will build a piece to go between the bookcases, add face trim, and paint! It’s going to look so good!
Be sure to check the other participants for more inspiration. www.oneroomchallenge.com/orc-blog
Hi Jessica! It is looking good so far! We are also installing shelving in our home office for the One Room Challenge, and it has not been without hiccups. Yours look great, and I’ll be following to see what rooms look like in the end.
[…] styling tips and, my new sconces! If you missed them, here are the links to WEEK 1, WEEK 2, WEEK 3, and WEEK […]
[…] you missed them, here are the links to WEEK 1, WEEK 2, WEEK 3, and WEEK 4 and WEEK […]
[…] added these built in bookshelves to save money during the build about a year after we moved in. Click here to see how we built […]