Make Your Space Unique with DIY Tile Words

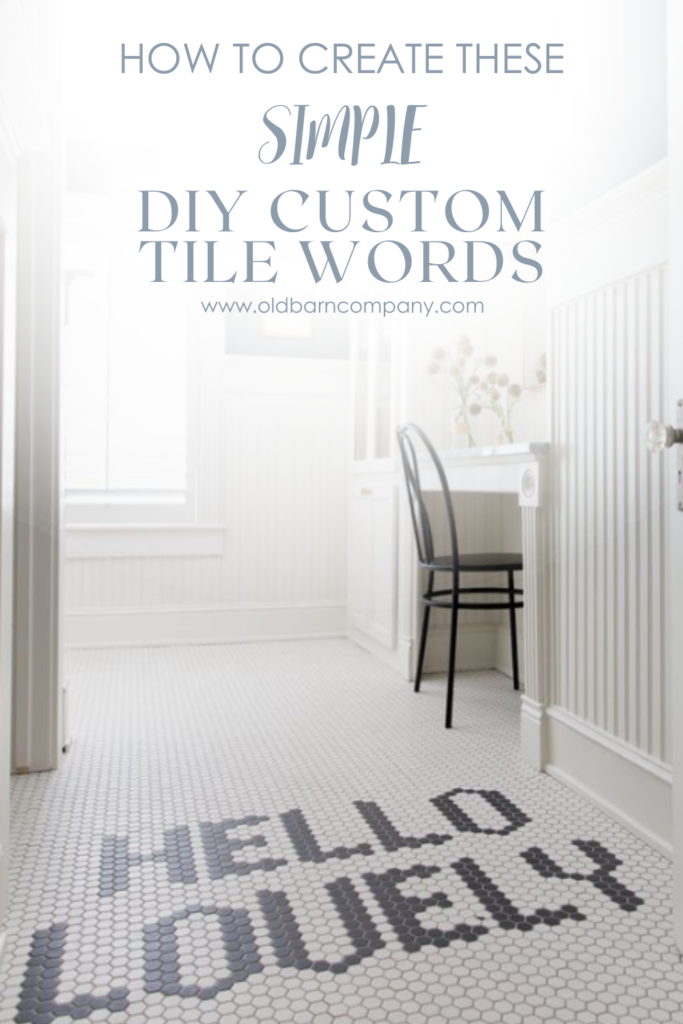
I’m sure you’ve seen beautiful images of custom messages in tile. This “Hello Lovely” is made using small hexagon tiles.
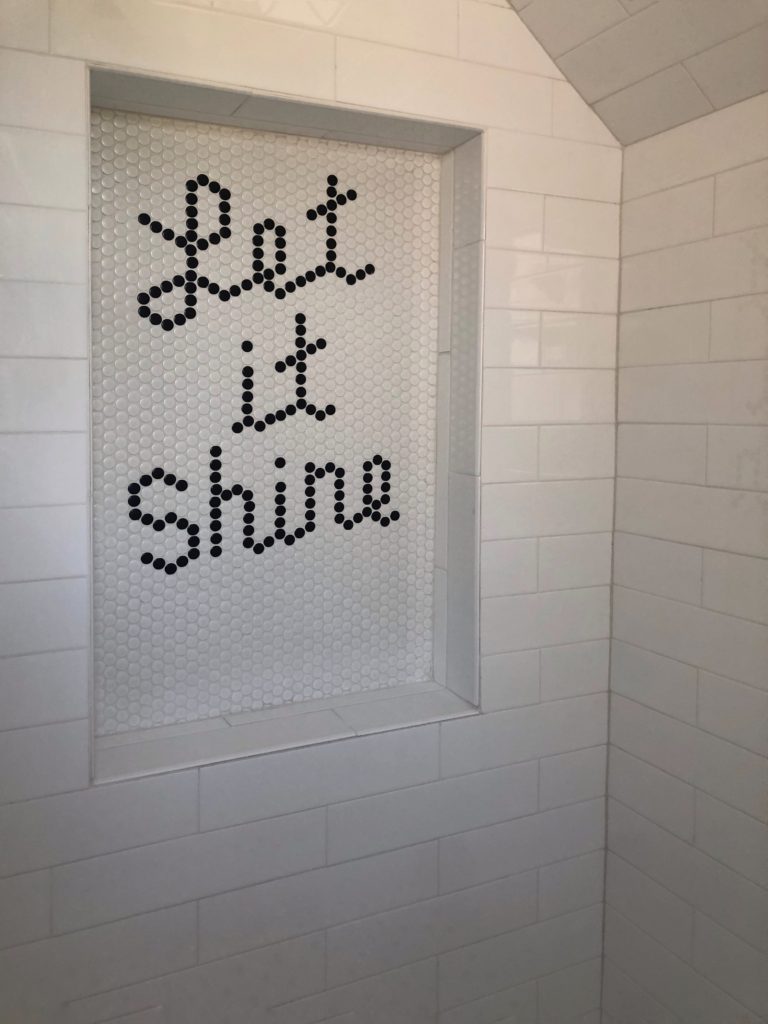
When I saw this I was very inspired and thought it would be so fun to do something like this in our new home. I originally thought I’d do a message on the floor of the mudroom welcoming us home or sending us off with a motivational message. Ultimately, I decided to do a message in my daughter’s shower niche because I found black and white penny tile that is so “her”. The next decision was tougher…what words to use. I wanted something personal and motivational and timeless. It had to be something she wouldn’t outgrow in a couple years.
A Message with Meaning
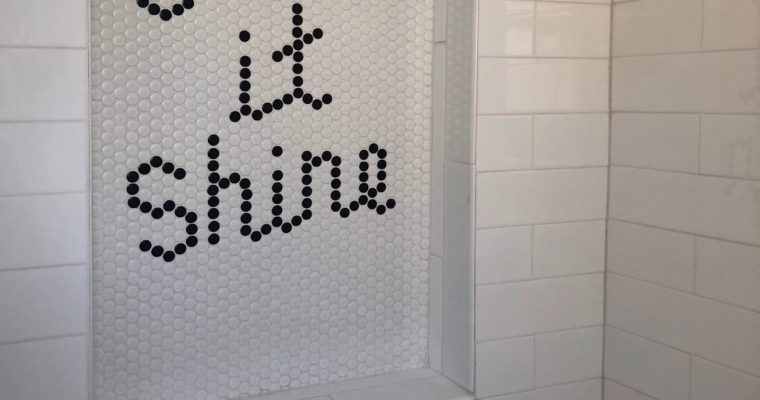
I decided on the words, “Let it Shine.” I love it for many reasons. It can be a playful reminder to get squeaky clean in the shower (location). These words also remind me of the sweet song we all used to sing in Sunday school, which I love. I often tell my kids to be a light in the darkness, to let their star shine. My hope is that they go out into the world and reflect the light of Jesus.

And finally, these sweet words remind me of one of my most precious memories. We were in a New Orleans jazz restaurant and the amazing house band played a jazzy rendition of “Let it Shine.” My daughter, who was about 3 at the time, was feeling the music in her soul and couldn’t help but get up and dance. The band was truly awesome, but that little girl stole the show. Her brothers joined in, and the owner of the restaurant even came to dance with her. I got a video (below) of this, and it’s definitely a treasured memory. So, “Let it Shine” it is—the perfect words for us. (Also, notice the tile in the video.)
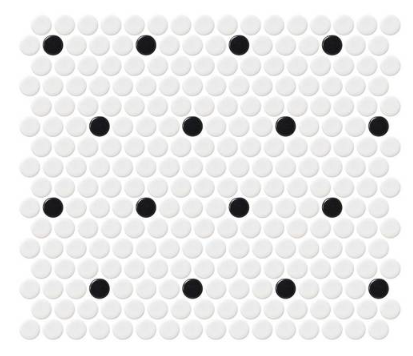
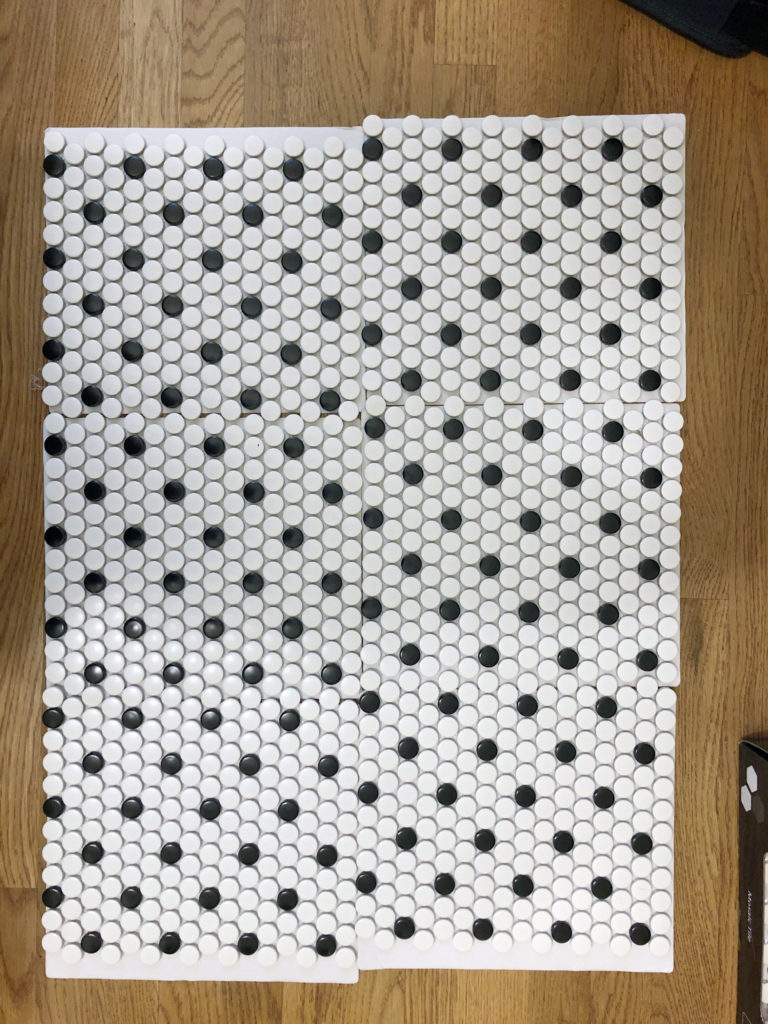
Okay, so you’ll find your perfect words and location in your home and now you need to choose a tile and put it together! I chose a black and white penny tile like THIS ONE.
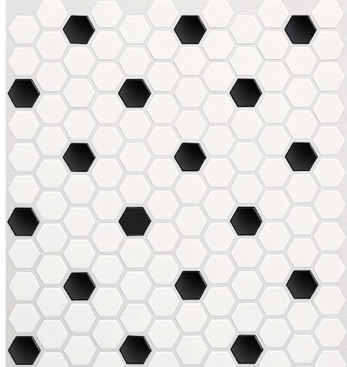
Here’s a similar cute hexagonal one.
Step by step instructions to create your own design
Materials:
- tile sheets
- flat head screwdriver
- wax paper
- cardboard (probably came with your tile)
- measuring tape
1. Determine where your tile words will go and measure the space.
2. Figure out how many full and partial sheets of tile you’ll need for your space and lay them out on top of the cardboard they came with. Put a piece of wax paper between the cardboard and tile sheets (important).
3. Use a flat head screwdriver to remove the black tiles from the mesh backer.
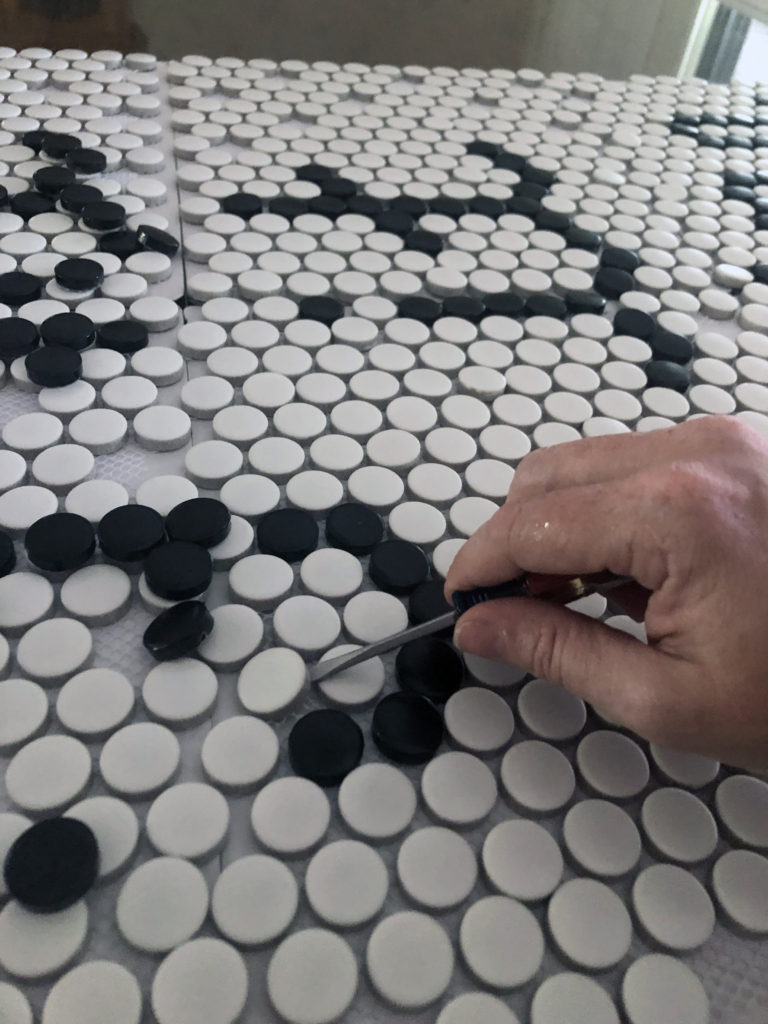
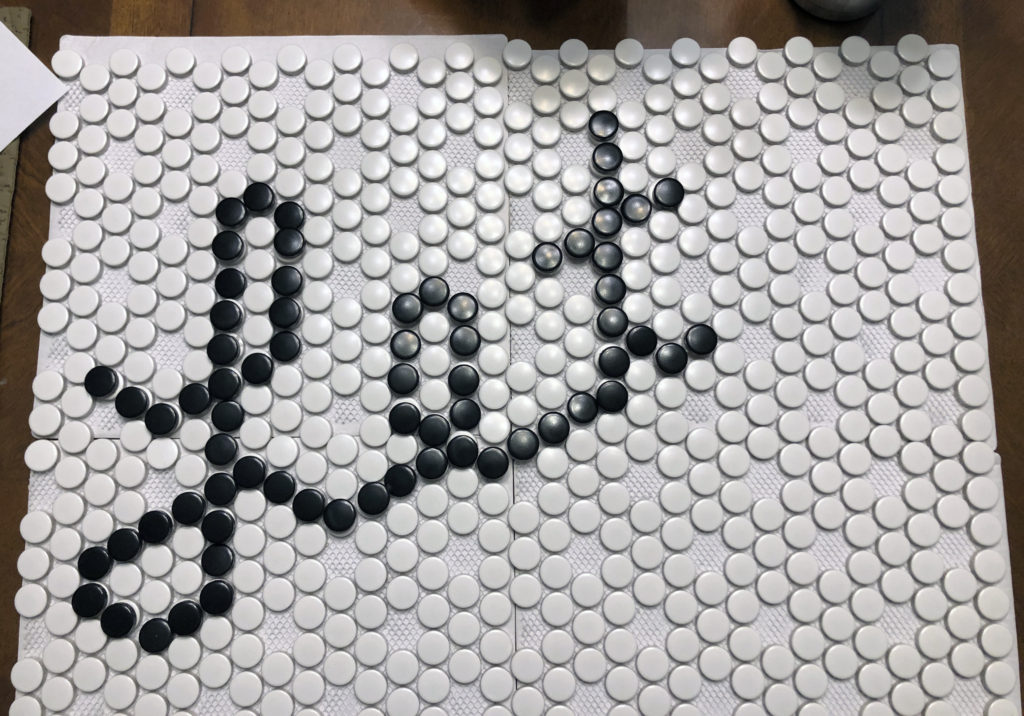
4. Use the black tiles to layout your design. Most black tiles will overlap white tiles at this point, but don’t remove the white tiles yet. Keep it loose and try several different designs. It took me several designs and lots of tweaks to get the look I wanted. Take pictures of your various layouts so you can compare and catch anything that doesn’t look quite right.
5. Once you finalize your design and tweaks, you can start popping off the white tiles that need to be replaced by the black ones in your design. Use the flat head screwdriver again.
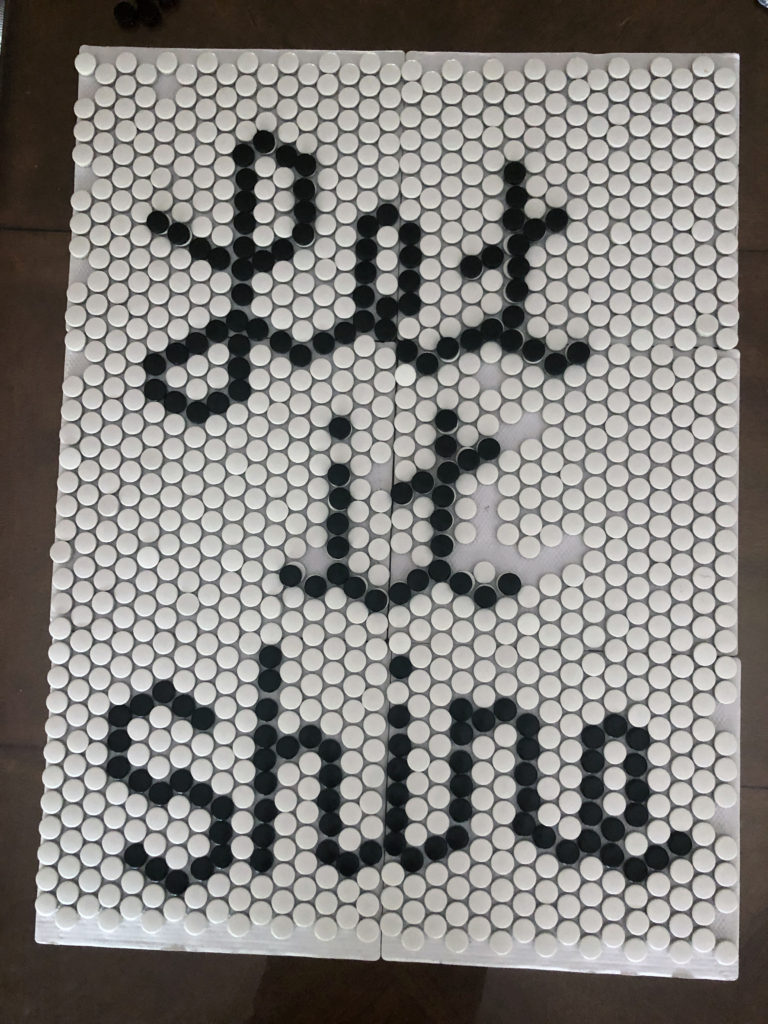
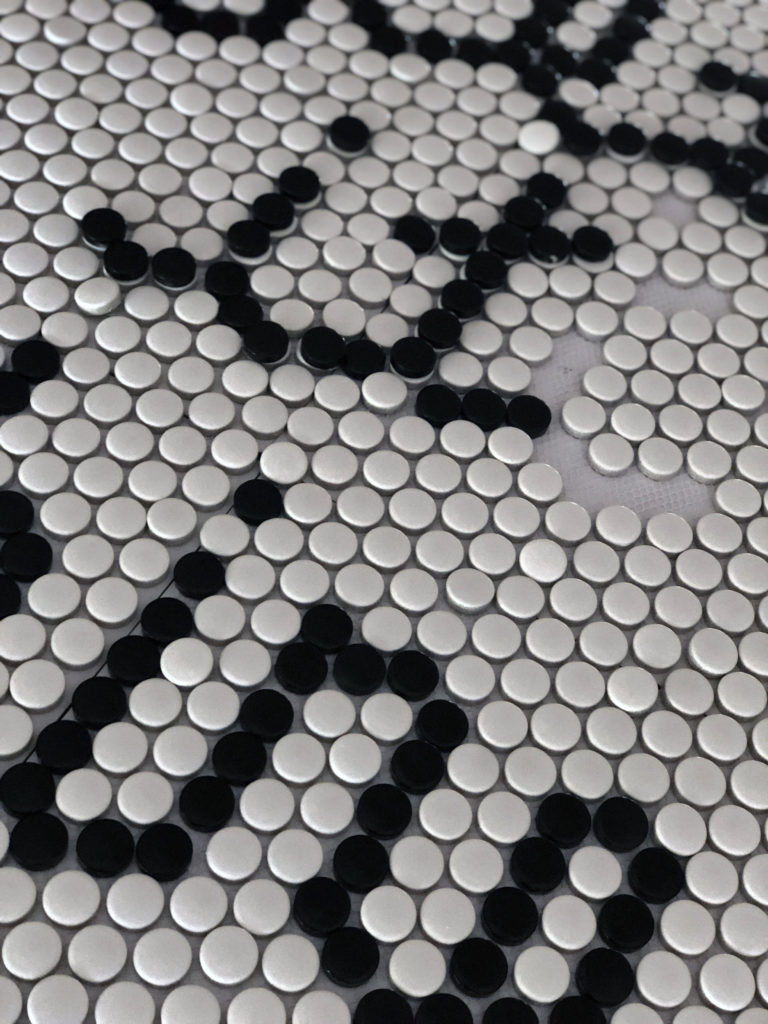
6. Fill in the empty spaces with the white tiles.
7. Make sure you still have wax paper between your tile sheets and cardboard. Using good ol’ Elmer’s white school glue, lift each loose tile and put a dot of glue on the mesh and replace the tile, ensuring consistent spacing between the tiles. Be methodical, so you can keep track of the ones you’ve done.
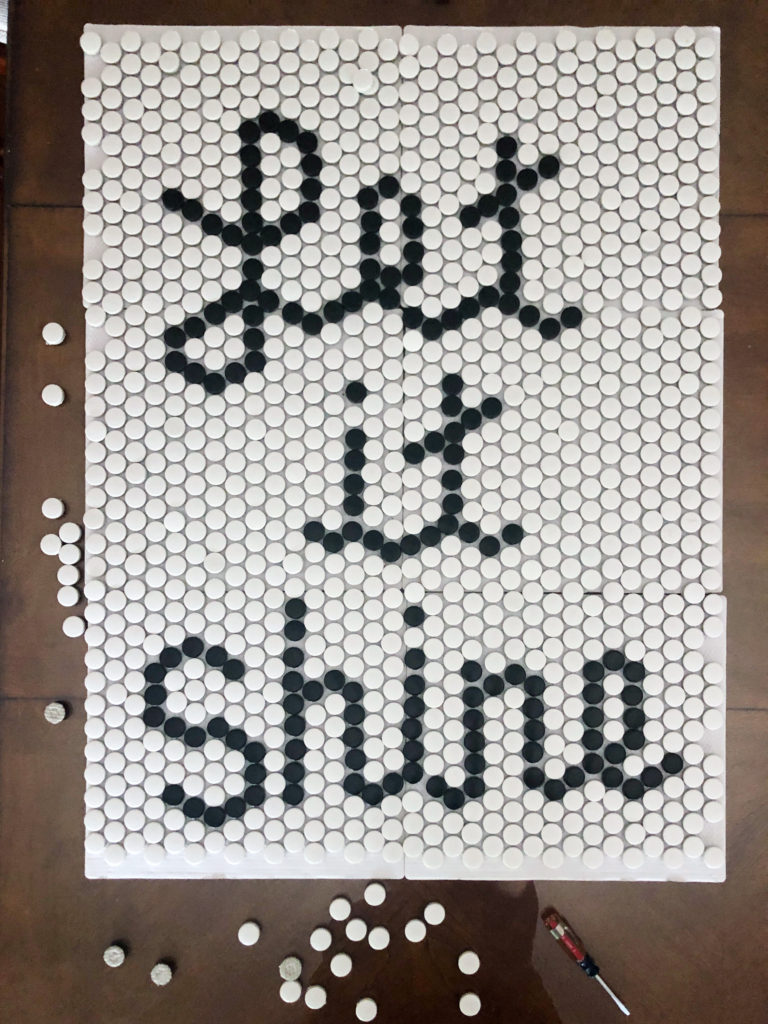
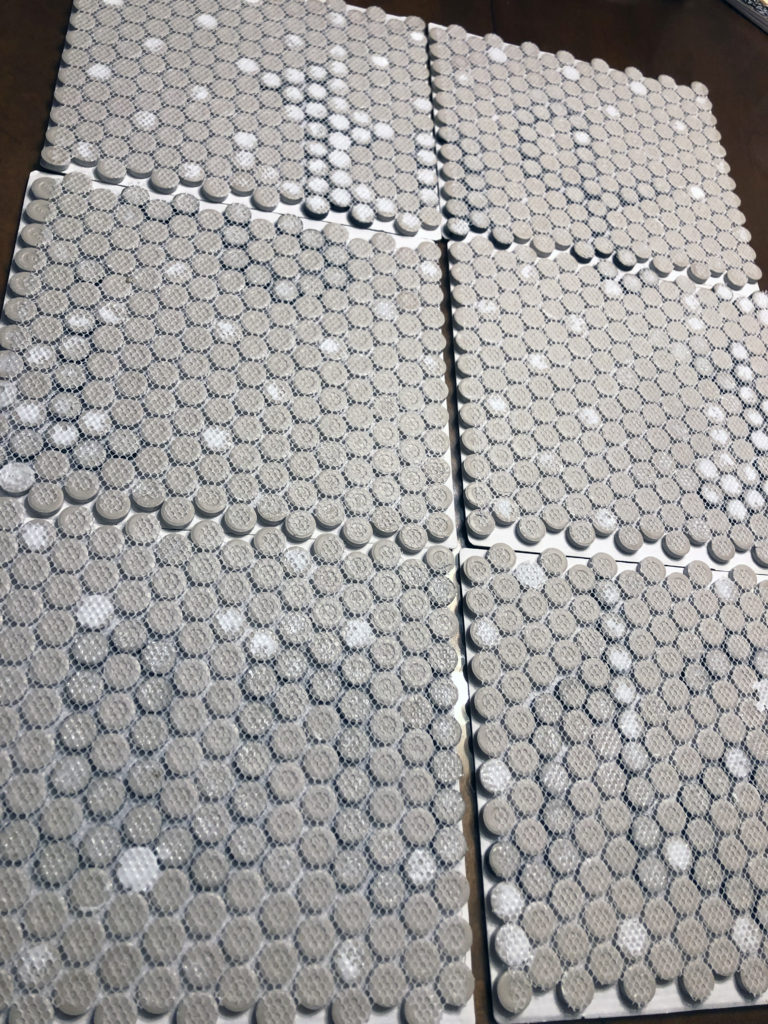
7. Allow the glue to dry overnight. Then remove the wax paper from the back. It will peel off easily. Flip your sheets over so the mesh side is up and allow to dry completely. Now you’re ready to install these on the wall or floor!
I would love to see your creations! Tag me on Instagram, or comment below!
I love this! The script you used is awesome, thank you for sharing.