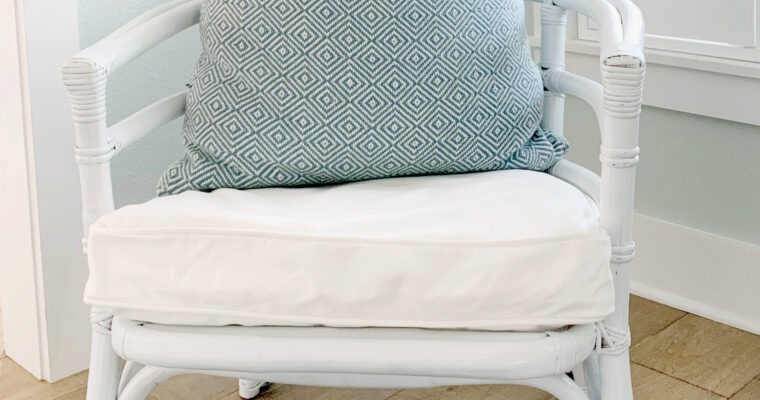
Bookshelves for Home Office | One Room Challenge Week 2
Wow! That week flew by! Welcome to week 2 of my little One Room Challenge: My Home Office including DIY Bookshelves as a main project. Here’s a link in case you missed WEEK 1. This week, I have been busy designing the bookshelves and figuring out the pieces we need to buy and cut to make them. I also have given a little $10 Goodwill Chair a makeover, and now it may have a new home in my new office. Over the next few weeks, I’ll take you step by step through the building of the bookshelves and then the pulling together of the whole room.
For those of you who are new to my page, Hello! I’m Jessica, wife to Cody, and mom to 2 boys and a girl, who are SO lucky because everyday with me is like an episode of carpool karaoke! They get a ride and a show! (OK, so I’m not a great singer, but do have enthusiasm). I have a background in architecture and designed this home that we just built in a small Texas town. We self-contracted the build…and we are still finishing up a few projects. Most days you can find me on Instagram @the.old.barn

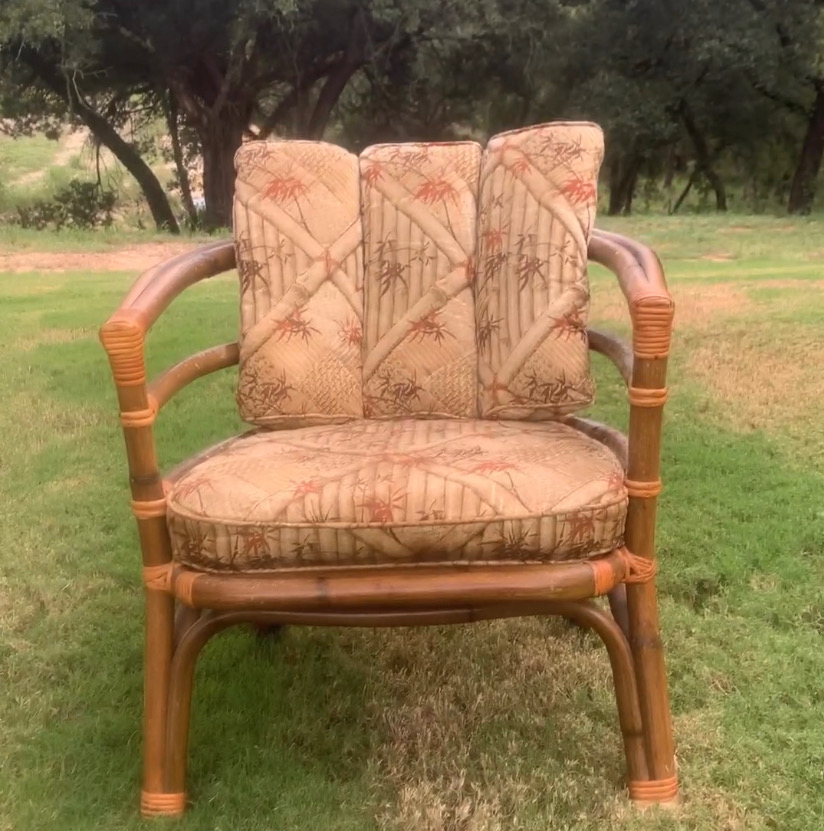
This is the Chair I found at Goodwill for $10. I was afraid to even show my husband because it was so ugly.
BEFORE
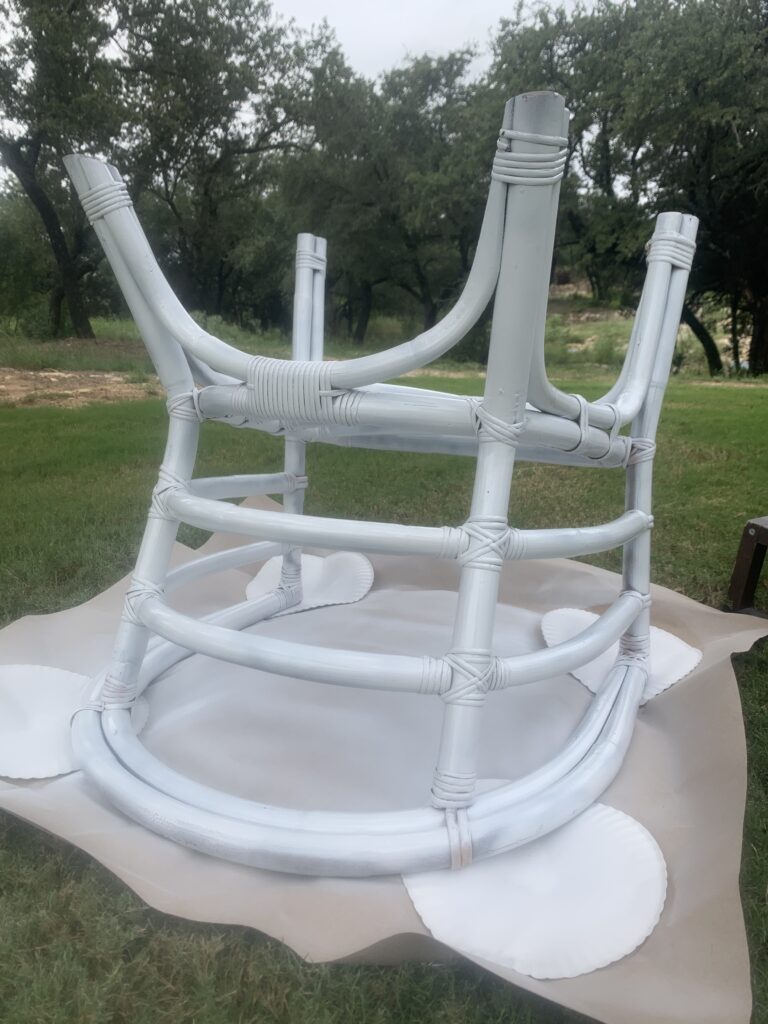
DURING
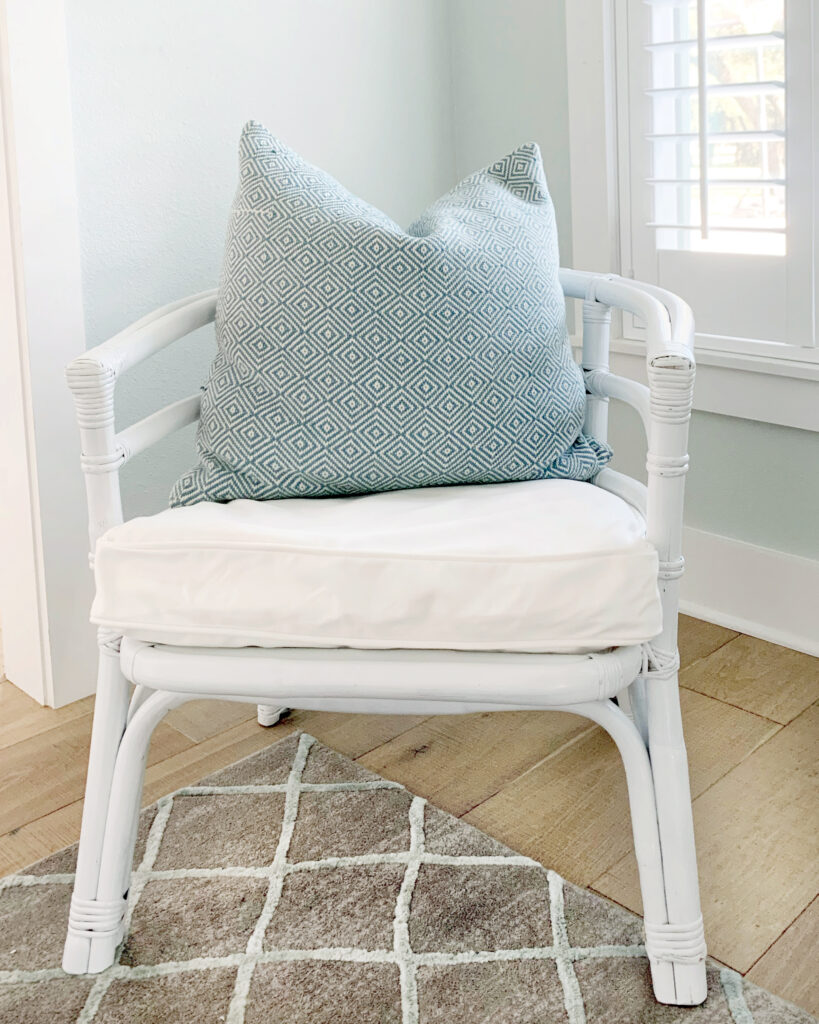
AFTER
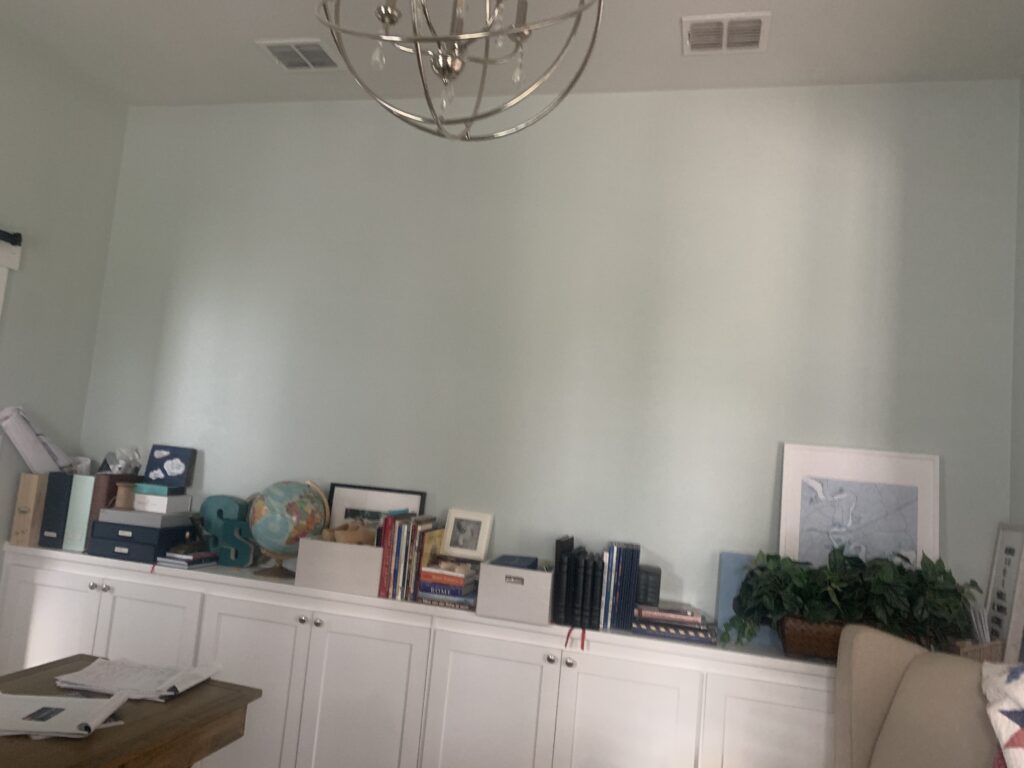
Here’s the unflattering BEFORE picture. We already have base cabinets up to 36″ high. I’ve decided to make bookshelves that go almost to the ceiling. There are 2 air vents on the ceiling that prevent me from going ALL the way up. The ceilings are at 10′ so I’ll be making the shelves just short of 7′ tall, 12″ deep and about 40″ wide. There will be one bank of shelves on the far left, and one on the far right, with an open space in the middle for art.
Time to go shopping! I’ll be using 2 sheets of maple plywood to make the shelves and trimming out the faces with poplar 1x2s and 1 1×4 with a cove type crown at the top. The edge of plywood is very rough and unattractive, and the thinness would look cheap and flimsy if left untrimmed with the 1x2s. Trimming with 1x2s does give a little bit of strength against sagging as well.
The nice people at Home Depot made the cuts shown on the image below for me. This was a huge help because it can be very difficult to manage a huge piece of plywood while cutting a straight line. Having these cuts done means we only need to cut each board to the proper length, since the depth of my shelves is 12″.
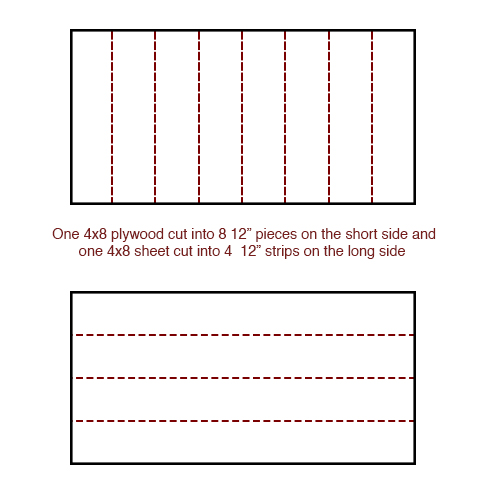
The longer boards will be the vertical sides of the bookshelves, and the shorter ones will be the shelves.
We also want to have a faux shiplap on the back on the shelves. This is for aesthetics, but also to prevent racking, or shifting out of plumb. Basically, these vertical strips will help keep the shelf assembly square.
Here is a list of the materials:
- TWO 1/2″ thick 4×8 sheets of maple plywood cut as shown above
- 8 poplar 1x2s, 8′ long
- 1 poplar 1×4, 10′ long
- 1 cove or crown molding, 10′ long
- finishing nail gun (or brad nail gun) recommended
- 2 4×8 sheets of 1/4″ thick plywood cut into 6″ strips x 8′ long for faux shiplap backing
- Cabinet screws
- Paint & roller/brush
- Caulk
- Wood filler
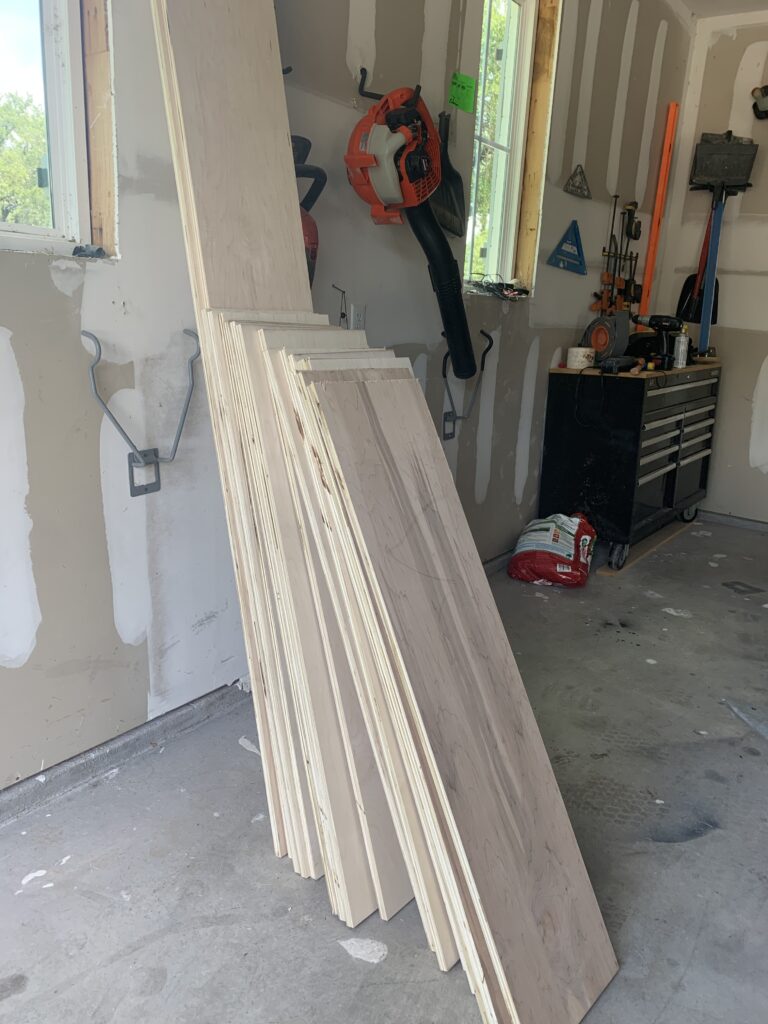
All of the wood for this project cost about $390. So that leaves a little over $100 in my target budget of $500. If you’re building bookshelves along with me, go get your supplies and meet me here next week when we will assemble and install the shelves step by step!
Be sure to check the other participants for more inspiration. www.oneroomchallenge.com/orc-blog
[…] some bookshelf styling tips and, my new sconces! If you missed them, here are the links to WEEK 1, WEEK 2, WEEK 3, and WEEK […]
[…] you missed them, here are the links to WEEK 1, WEEK 2, WEEK 3, and WEEK […]