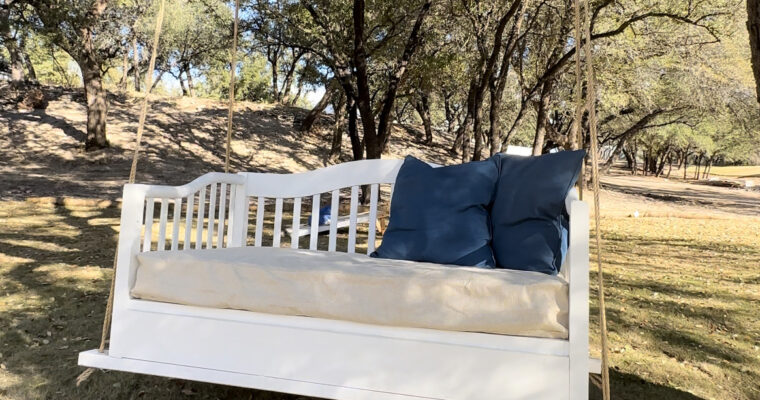
How To make a BED SWING out of a $40 Toddler Bed
Bed swings are so relaxing and I have been wanting one for years! Have you?
Maybe you have a toddler bed that is just taking up space in your attic or garage.
Or maybe your child has outgrown theirs and you feel pangs about letting it go.
Well, don’t get rid of it just yet! In this blog post, I will show you how to turn that old bed into a bed swing that can be hung from a tree or porch framing. This is a simple DIY project that anyone can do!
Keep reading for the full bed swing tutorial…

Have you been swooning for a bed swing? I have been wanting one, but I couldn’t justify the cost. I’ve seen some ranging in price from $900-$4000!
Then I had an idea!
I found this toddler bed on Facebook Marketplace for $40.

Well actually, I searched and waited for just the RIGHT toddler bed.
What to look for in a toddler bed to make into a bed swing
- It is best to have a daybed style, so the head and footboards are even heights because they will become the armrests for the bed swing. Don’t pay much attention to the small half-railing, because you will remove it.
2. Make sure the bed includes the toddler/baby mattress. They are typically waterproof which is, of course, ideal for an outdoor bed swing!
3. Lastly, if you’re buying one, look for one that looks pretty lightweight. This can be done with heavier beds, but you’ll need to make sure your support beams/branch, and ropes are all strong enough to support the weight of the bed plus a person or 2!
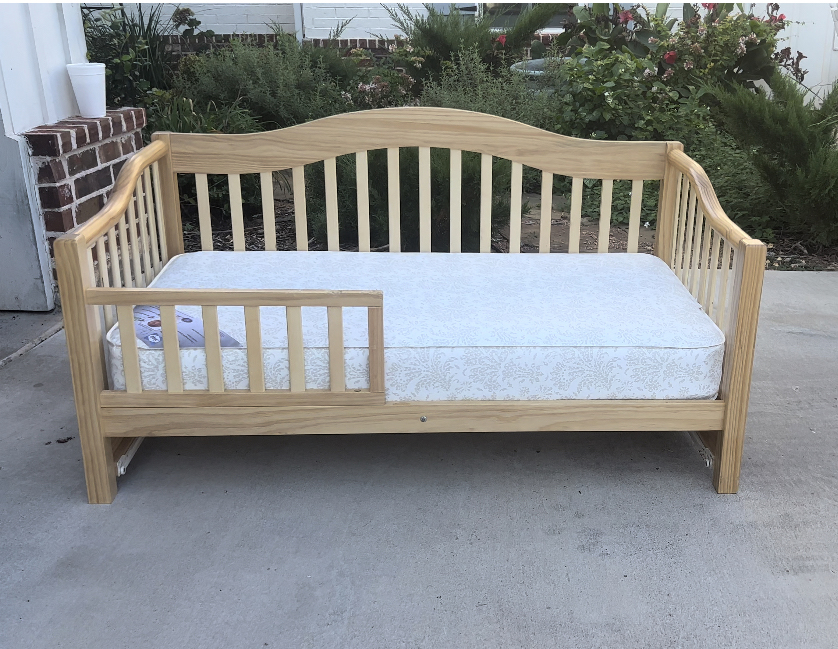
Step by step – toddler bed to bed swing tutorial
- Start by removing the half-railing from the front side of the bed. You will not need this for your bed swing, and it will get in the way.
2. Next, cut the legs so they are flush with the bottom of the bed.
3. Now, you’ll need to cut two 2x4s to length. Cut the 2x4s is about 10″ longer than the length of the bed.
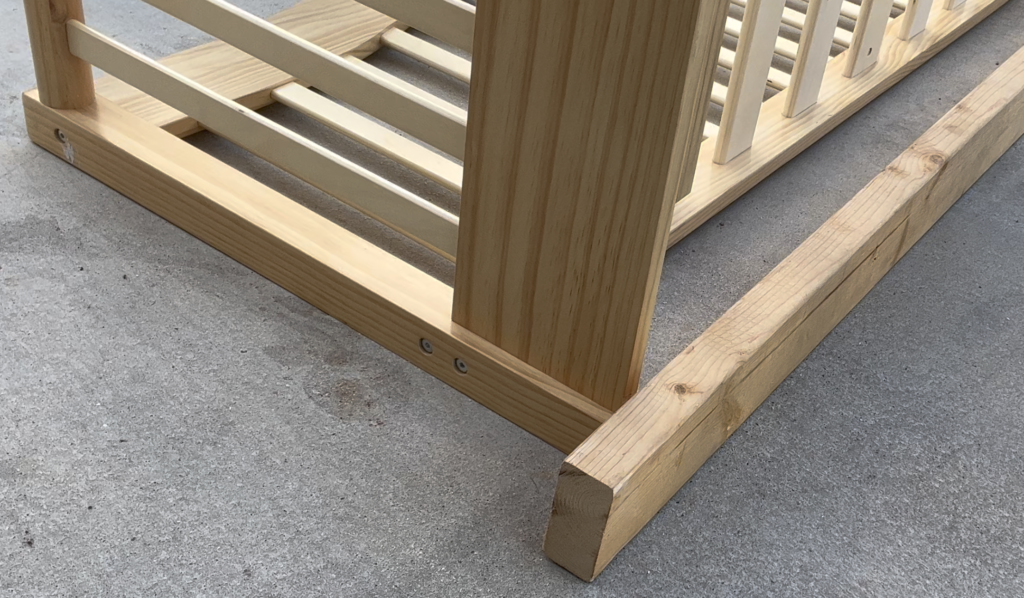
4. Then, to secure the bed frame, use the two 2x4s to bridge across the front and back edges where the legs were trimmed off. The 2x4s should extend past the edge of the bed by 5″ on each side. (see pic above) These are my favorite screws, they have a star-shaped bit that comes with them. I used 3″ long screws because I was going through 1.5″ (of 2×4) and then into the bottom of the leg.
Note: 2x4s are actually 1.5″x 3.5″x the length. “2×4” is the nominal size.
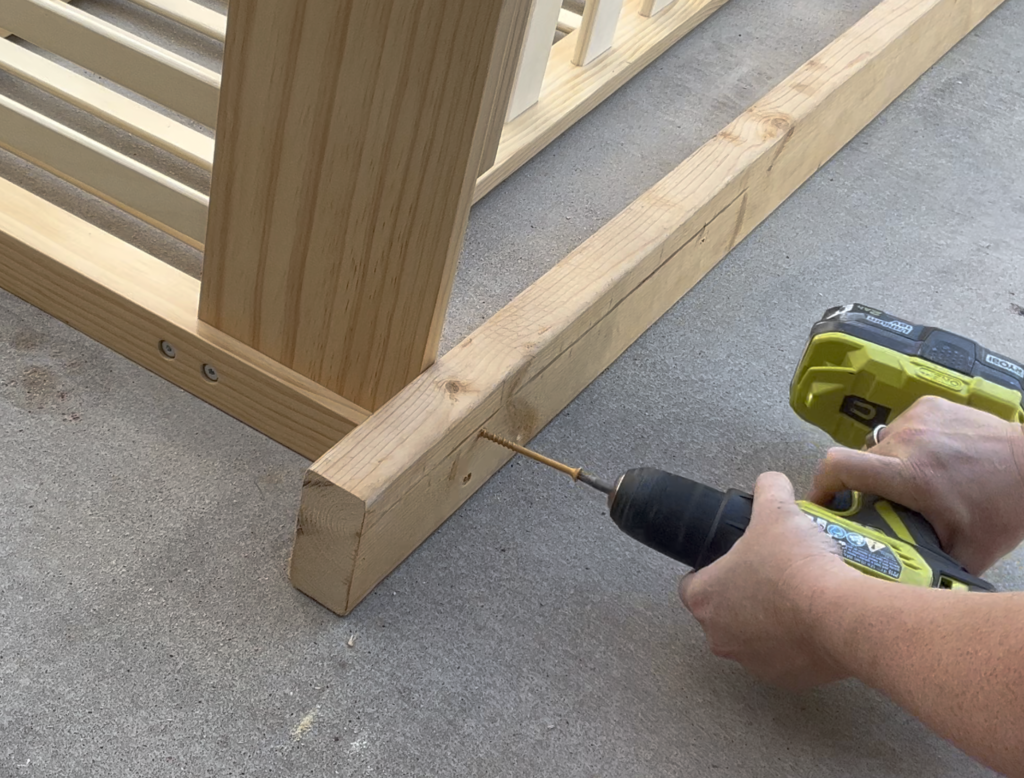
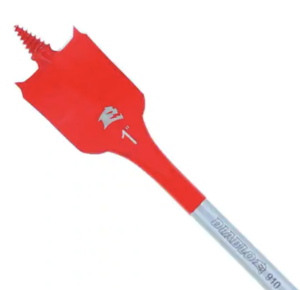
5. Next, use a spade bit to drill 3/4″or 1″ holes in the ends of the 2x4s that extend past the bed frame. When using a spade bit, place the center of the bit where you want the center of your hole.
Spade Bit Tips:
Allow the drill to get up to speed before the teeth on the outer edges sink into the wood to prevent it from getting stuck. If your bit gets stuck, reverse it out a bit by switching the direction of the spin, then start again. Also, make sure your drill is set to a high amount of torque. One more important tip: make sure your bit is not going to cut through anything when it comes out the other side (fingers, other important wood pieces, table….)
6. Now it’s time to start painting or staining your bed swing! This part is completely up to you. We chose white in an outdoor grade paint.
7. Once your paint is dry, it’s time to add the bed swing cushions and covers. Here are a few mattress cover options. (Most have multiple color options).
Another Great Outdoor Mattress Cover 2
Make your Bed swing pretty with an outdoor mattress cover
hanging your bed swing
To attach the bed swing to your tree or porch framing, you will need two lengths of rope or chain. The length will depend on how high you want to hang your bed swing. We hung our bed swing using two lengths of rope, one on each side. Be sure to check the weight rating for the rope. I also prefer a polypropylene rope to natural because is feels better and withstands the outdoor conditions better.
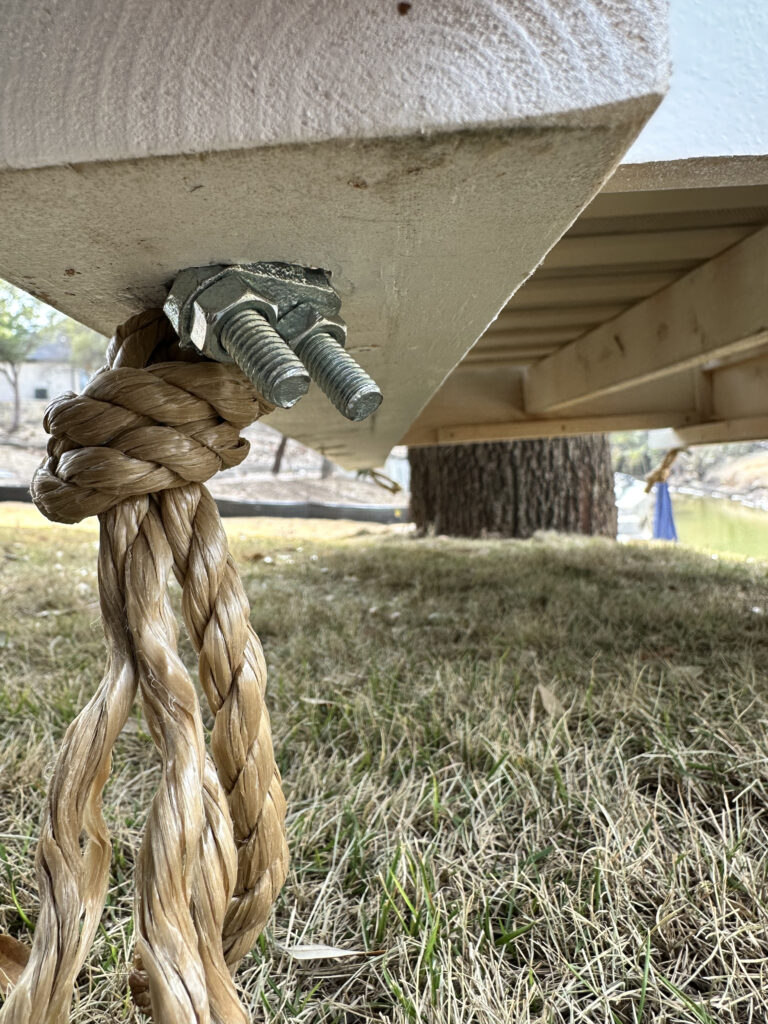
You may also need rope clamps like this. You could tie a knot but I find the rope clamps much stronger and less likely to come undone. We tied a know below the clamps for extra support and and looks. Make sure to choose the right size clamps for your rope. We tightened the nuts with a socket as much as we could.
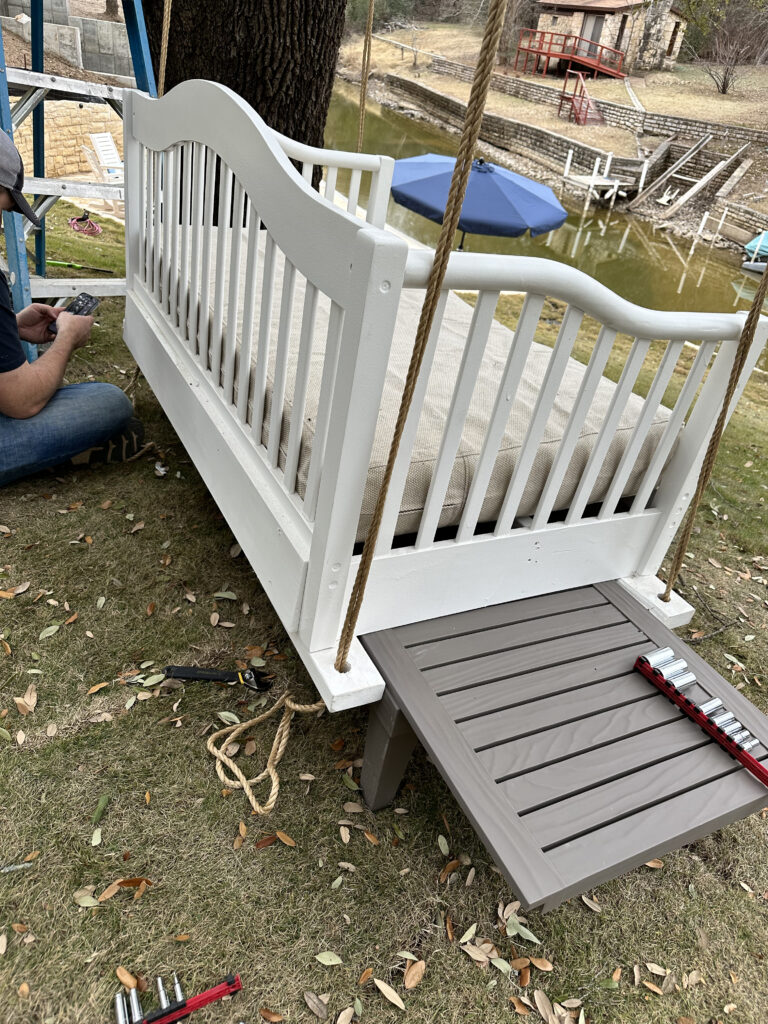
To get the height level and hold the swing up while securing the rope, use something under it like a couple stools, blocks, or a flattened lounge chair works great too!
You could also use these straps to easily hang your rope from, and protect the tree branch.
Tip: The rope will stretch a bit over time, so set your height a bit on the high side.
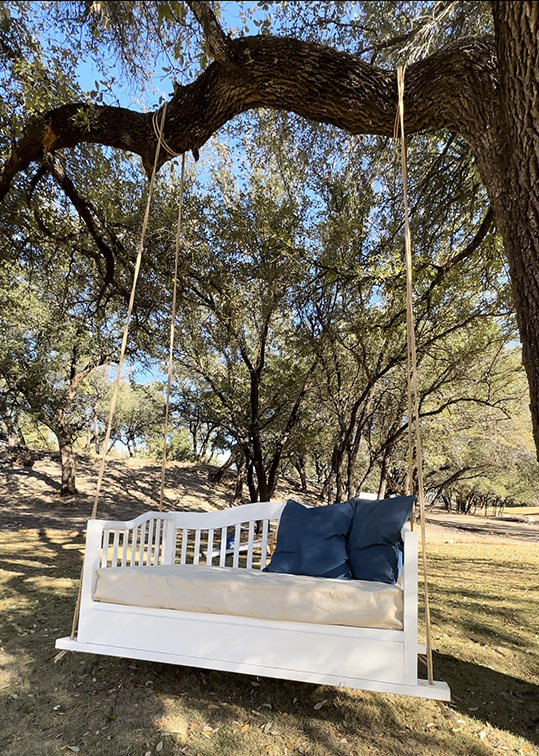
And that’s it! You now have a beautiful bed swing that you made yourself! Enjoy!
If you enjoy doing DIYs, you may also like these posts:
Do you have a bed swing? Share a photo with us in the comments below! We would love to see it!


What a fantastic idea! It takes me back to when I transformed an old wooden bed frame into a swing for my kids. They loved swinging in it on warm afternoons, and it became their favorite spot to read and relax. If you’re considering something similar, definitely check out https://treeswingstore.com/ for swing options and ideas. Your project will inspire many to repurpose their furniture creatively! Thanks for sharing!