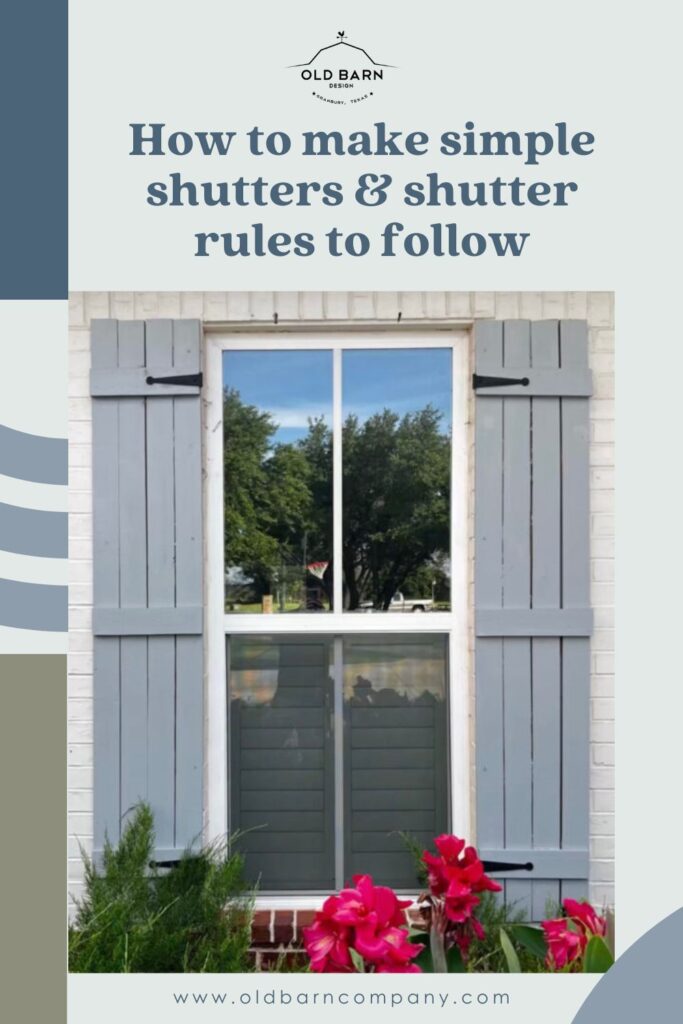
How to make simple shutters & simple rules to follow

Welcome to Shutters 101
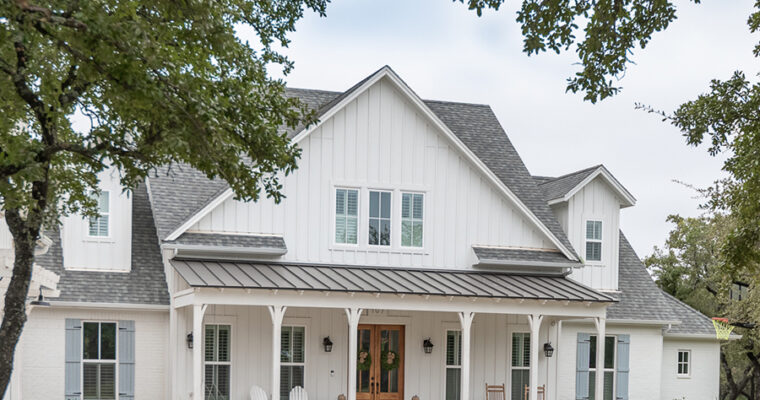
After our home build, we had a lot of leftover scraps and leftover projects. So we used those scraps to finish up those projects ourselves to save a bit of money. Our window shutters were one of those projects.
I get asked about where we bought ours and for a tutorial often, so I thought I’d put together some step-by-step instructions.

And as a home designer, I have some pretty strong thoughts about the right and wrong ways to put shutters on your home. Everywhere I go I see people breaking a few critical design rules. And just like I tell my kids, just because others are doing it doesn’t make it okay. So I’ll also be showing examples of ways NOT to do this perfect window accessory and how to do them correctly.

Our Shutter Paint Color
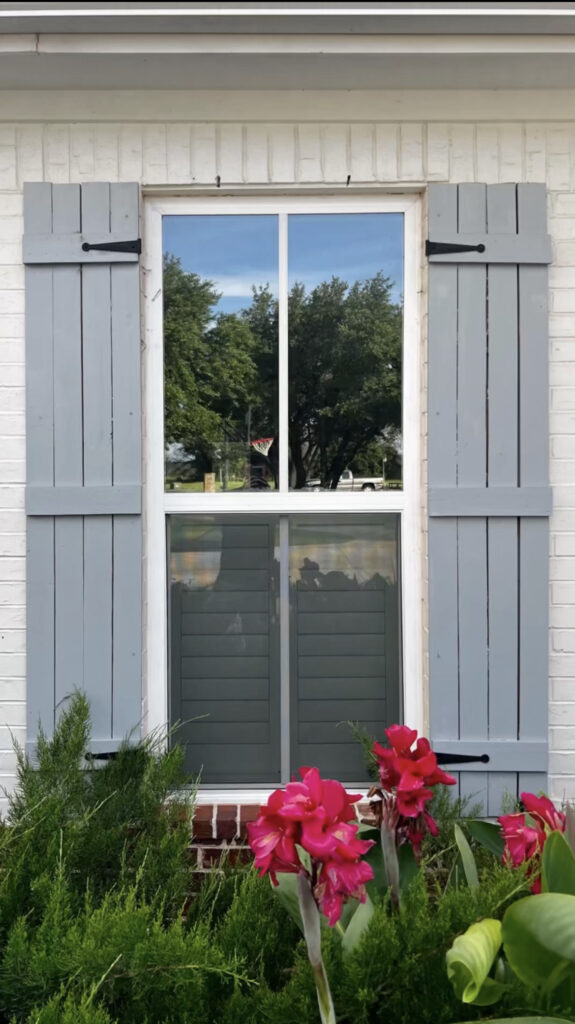
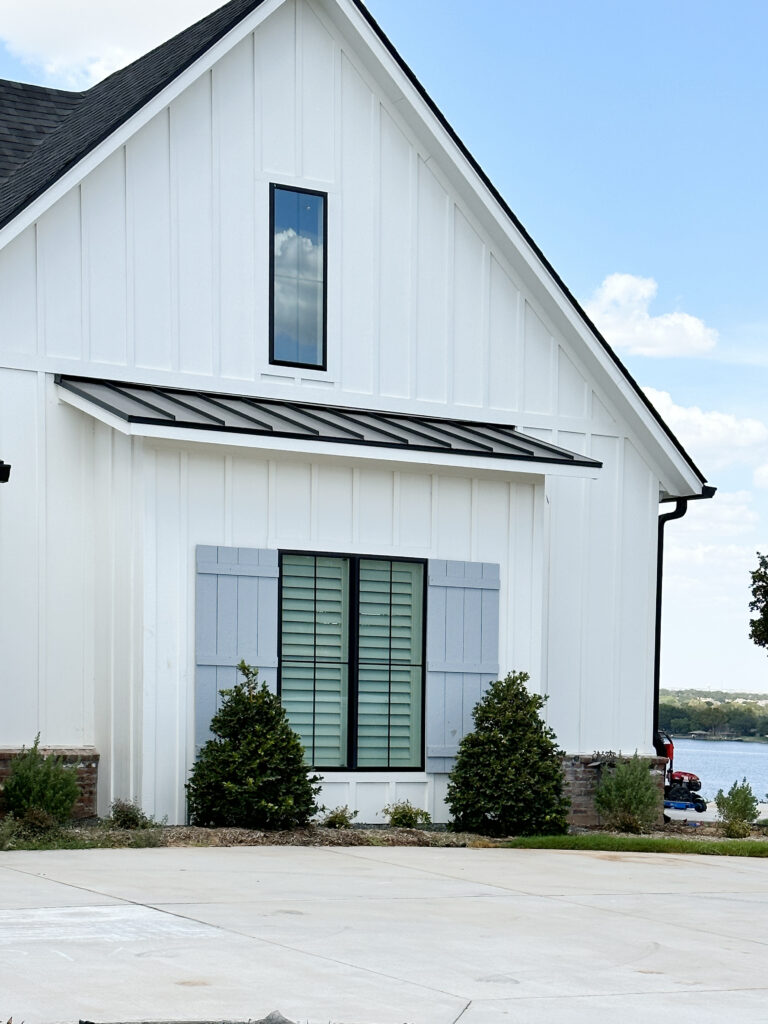
Another question I get asked every time I share my shutters is “What is the paint color?” It is Sherwin Williams Uncertain Gray. Yes, it does look blue-ish.

Please don’t break these shutter rules
When adding shutters to your home’s exterior, make sure your windows have space around them for the them to lay flat without overlapping each other or other architectural elements.
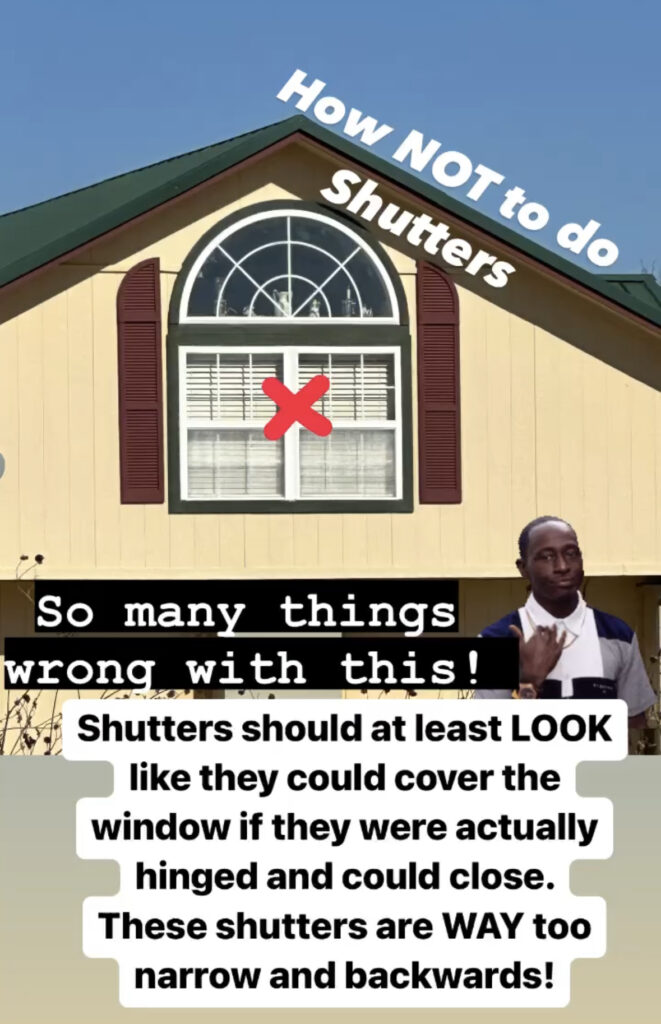
The biggest mistake people make when adding shutters is they use ones that are too small for the window. For example: if your window is 36″ wide, you need a pair that are each 18″ wide for flanking shutters (1/2 the width of the window per shutter).
The rule is that, even if you plan to screw them to the wall and never use them for their intended function (to close off the window from the outside), your shutters should at least LOOK like they could do that. If you have a 36″ window and 12″ shutters on each side of it and were to close them, you would have 12″ gap. Not good. Proportion is very important in design.
Pairs of windows: You can add shutters to a pair of windows, but the rule above applies. This time, you’ll need one wider shutter to cover the entirety of each window. If you have a pair of 36″ wide windows mulled together or very close, you’ll need TWO 36″ wide shutters, one to cover the right window, one to cover the left window.
In the above example, the windows are 24″ wide, and the shutters are 24″ wide. Each shutter will cover one whole window.
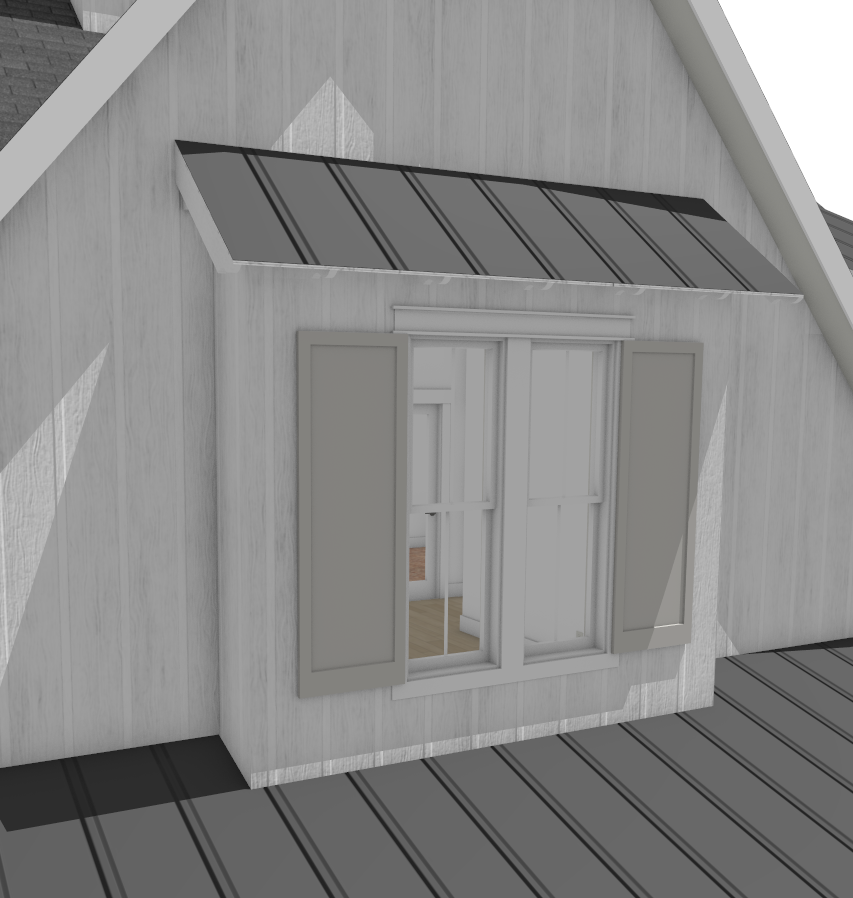
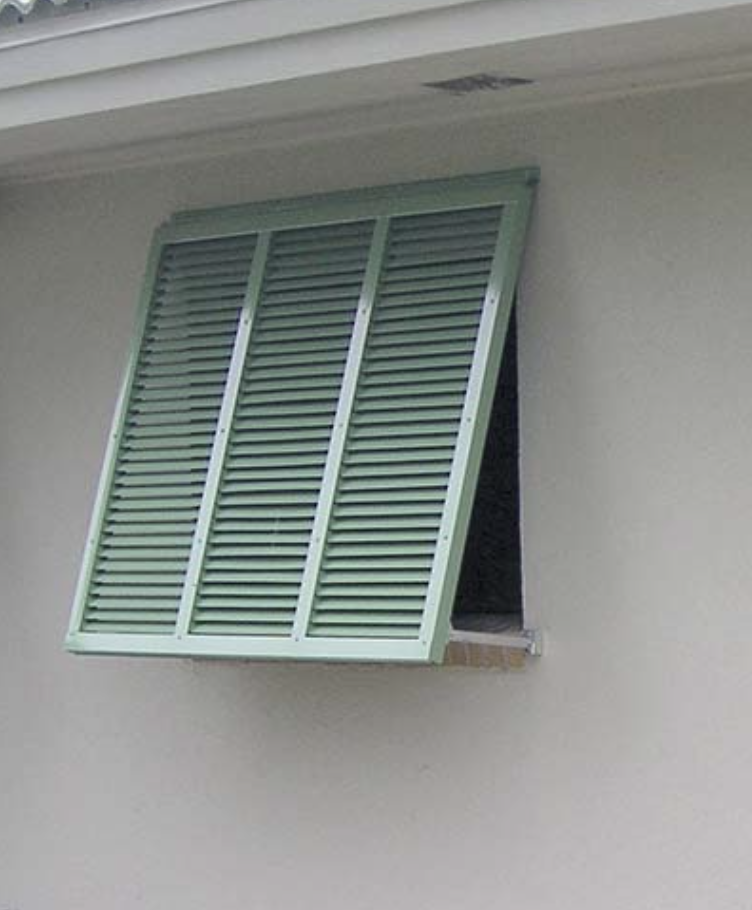
Sets of 3 windows mulled or grouped together. NOPE! No shutters! UNLESS you do the awning style or “Bahama Shutters” like the pic below. Otherwise, forgetaboutit.
It is okay to have some windows with shutters, and some without.
In general, a pair flanking the window look best on taller, narrower windows. And a one-flap shutter can look great on a smaller
Don’t make this shutter mistake!
Shutter Hardware
In keeping with the rule that shutters should at least look functional, it’s good to use some hardware like hinges and shutter dogs. These can be real and functional or fake. Here’s a link to some fake ones.
Instructions for building these simple shutters
We are often asked where we got our shutters. Cody made them and we are sharing the process below!
These are very simple to make.
They are just 1×4’s cut to match the height of the window.
There are three cross boards per shutter that hold the vertical boards in place. It’s as simple as cutting all the 1×4’s, assembling them in place for each, then using wood screws from the back side to fasten them together.
Here’s link to the faux shutter hinges and hardware we used.
To attach the shutters to the exterior wall you’ll need to use masonry anchor bolts for brick, Hardie, or stone or just use exterior wood screws if you have wood siding.
wow, how aesthetically pleasing and beautiful it looks! I really like the color of these shutters. I’ve been thinking about doing this at my house for a very long time, because in fact my house looks like some house from Scandinavia because of its style, and this is very different from the houses on our street actually. I really love the Scandinavian cozy style and this design is made of “painted boards” or something like that.
Thank you for this article! You made it all about shutters clear to me, ill think about it more thoroughly from now. Have a good day.
Greetings! Your post on crafting simple shutters and understanding shutter rules is exceptionally informative. I thoroughly enjoyed reading it and found the content quite valuable. I appreciate the effort you’ve put into creating such a well-structured and insightful piece. Looking forward to more of your posts in the future. Keep up the excellent work!
I’m thrilled to have come across this insightful blog about shutters! The information provided here has been incredibly helpful as I contemplate getting shutters for my own space. I appreciate the detailed content, and it has certainly guided me in making an informed decision. Planning to order from https://iseekblinds.com.au/plantation-shutters, and I want to express my commitment to following the rules to ensure a smooth and successful installation. Cheers to a well-informed community and the exciting journey of enhancing our living spaces with quality shutters!
Thanks for helping me understand how shutters can help protect windows from outdoor elements while improving their appearance. My colleague is interested in owning a new home this year. I should talk to him about finding a store that sells window treatments that he can try out!
Howdy excellent blog! Does running a blog like this
require a great deal of work? I’ve absolutely no knowledge of coding but I was hoping to start my
own blog soon. Anyways, should you have any ideas or tips for new blog owners please share.
I know this is off topic however I simply had to ask. Many thanks!
its verry good can do it and can get anything for news go to there can do it
Hello! Your home is exquisite! Can I use wooden shutters if I have vinyl siding?
Hello! Your home is exquisite! Can I use wooden shutters if I have vinyl siding?
I appreciate how you highlighted the “no cutting required” part — that’s a huge relief for beginner DIYers like me who don’t want to mess with angled cuts. The swing bed looks so inviting, especially with that rustic porch vibe. If you had to do it again, would you stick with rope or try chain for a more industrial look?